
Adaptive Mesh in Klipper
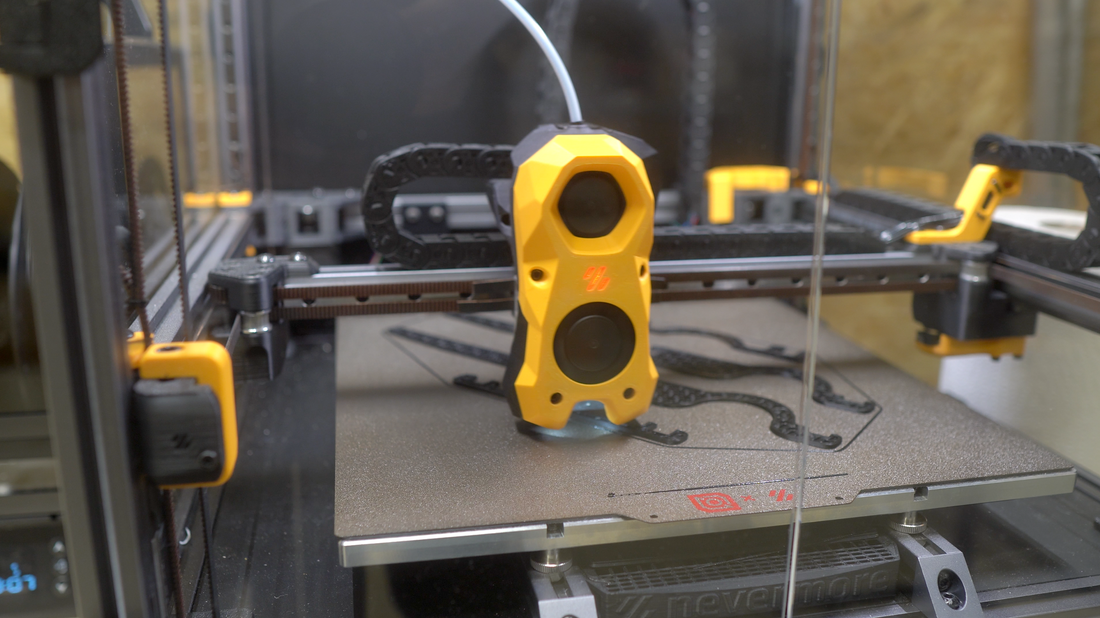
I love my Voron 2.4, but when I’m going to print something relatively small I go to my Voron 0.1, mainly because the Voron 0.1 starts working almost immediately after I push the upload button with the STL on it.
This is because the Voron 2.4 does a few things every time it will start printing, like gantry leveling and mesh.
Mesh is when the probe test many points on your print plate to try to avoid problems with the surface of how flat it is, but again, when I go to print something relatively small in the 300x300mm space my Voron 2.4 has, I don’t need the printer to take many minutes checking the height of points on the bed which are never gonna be used.
Here’s where adaptive mesh comes in. The idea is pretty easy and quite smart. The main idea is that the mesh is done just over the area that is require to print whatever you are going to print, so say that you are going to print a cube of 20x20mm of area, you do the mesh on a space which is a bit bigger than that 20x20mm, but much smaller than the full 300x300mm.
This saves a lot of time on the start-up process of the print and I’m finding it to be smart and a must on my printer.
INSTALLATION
There’s something which is out there which can confuse some people, I know it confused me, and it’s called KAMP. KAMP was a set of macros, and predecessor of Adaptive Mesh, that did exactly the same thing as adaptive mesh, which got added the klipper code recently.
To use Klipper’s own adaptive mesh you need to be on a current Klipper version, V0.12 worked for me, and I would assume anything higher than that should work as well, but I’m not sure if earlier versions does.
Step 1.- Is to make sure enable_object_processing is set to True in moonraker.conf file under the File_manager section.

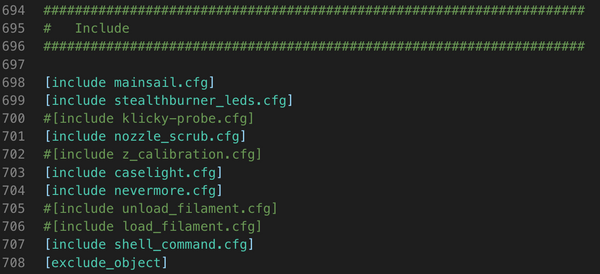
Step 2.- In the printer.cfg file make sure you have the [exclude_object] module in there
Step 3.- And the last step is to make sure to let any macro know you are going to be doing the adaptive mode. This is done by adding ADAPTIVE=1 to any line where you had BED_MESH_CALIBRATE

In my case I had it only one time in my start up script.
With this your klipper is ready to use adaptive meshing, and the last thing to keep in mind is that your slicer needs to have Label Objects enabled for this to work.
I use Orca slicer and this option is found under Others/G-code output

Klipper doc on adaptive meshing can be found here: https://www.klipper3d.org/Bed_Mesh.html
At this point your adaptive mesh should be working, and you should be saving time like me. KAMP still has another feature which uses the adaptive mesh information and can potentially be of interest to people which is adaptive purging, which means that the purge that happens just outside the print is selected by the adaptive mesh. It creates a bit of a signature next to your prints.